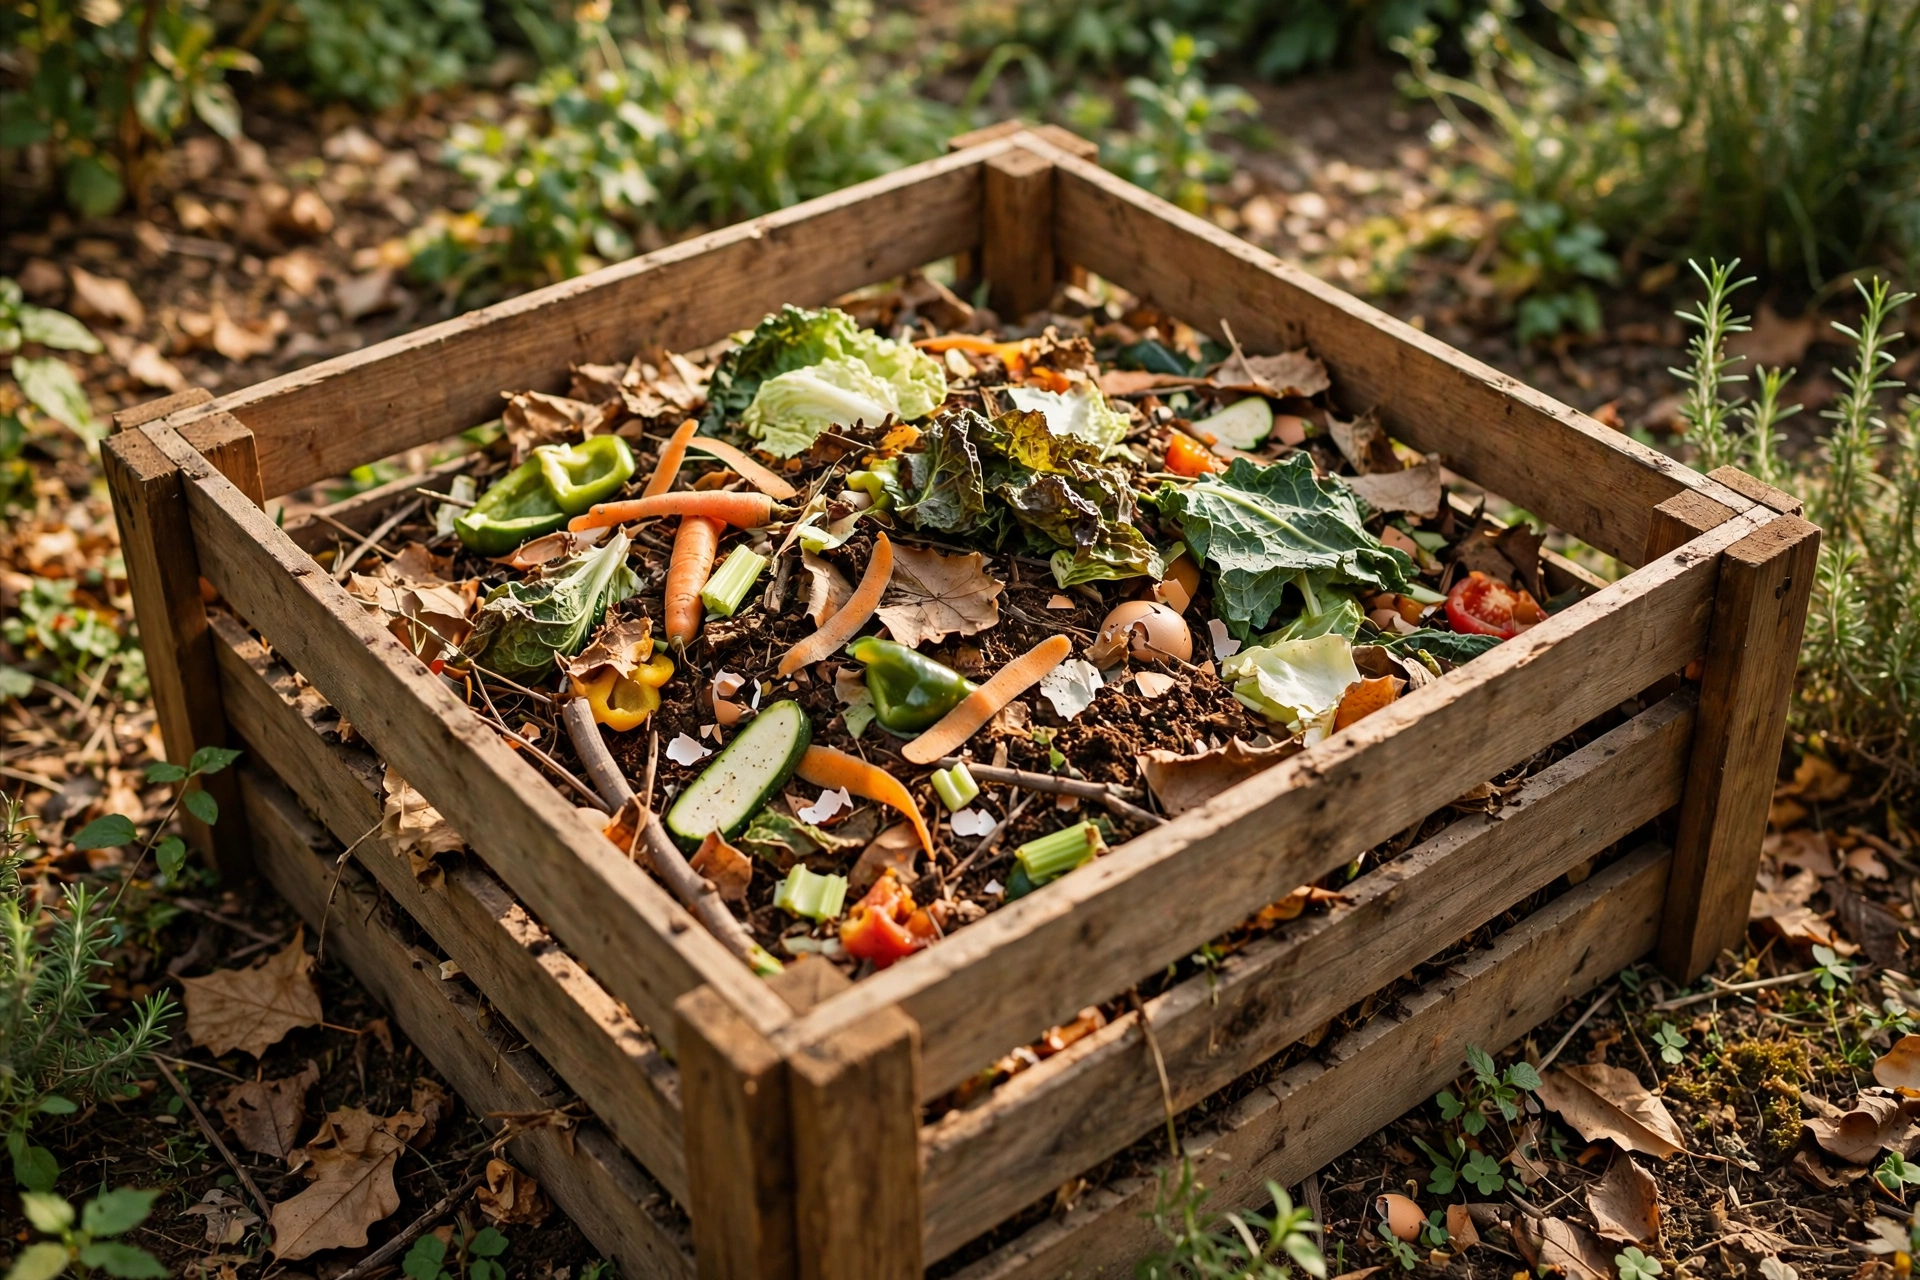
Composting sounds like one of those things everyone else already knows how to do. You have probably seen the beautiful bins, the rich dark soil, the people who talk about their compost the way other people talk about a sourdough starter. And then you look at your own kitchen scraps and think, where would I even put a pile, and will it smell, and will it attract every creature in the neighborhood?
I put off starting for exactly those reasons, and I wish someone had told me sooner that composting is mostly about getting one ratio right and then leaving it alone. You do not need a perfect system. You need a container, a mix of materials, and a little patience.
What composting actually is
Strip away the mystique and composting is just controlled rotting. Microbes, fungi, and worms break down organic material into a dark, crumbly substance called finished compost, which you can mix into garden soil. In a landfill the same rotting happens without oxygen, which produces methane and a much worse smell. In a home bin with air and the right mix, it smells like earth and produces something useful.
You are not creating something exotic. You are managing a process nature already runs, in a container, on purpose. That framing helps, because it means the pile is forgiving. It will not fail because you added the wrong peel on a Tuesday. It stalls or smells when the balance is off, and balance is fixable.
The one ratio that matters: greens and browns
Everything you compost falls into two groups, and the pile works when you have roughly the right mix of both.
Greens are wet, nitrogen-rich materials: fruit and vegetable scraps, coffee grounds, fresh grass clippings, manure from plant-eating animals. They feed the microbes and they are the reason a pile heats up.
Browns are dry, carbon-rich materials: shredded cardboard, dry leaves, straw, newspaper, wood chips, sawdust from untreated wood. They give the pile structure, let air in, and soak up the moisture from the greens.
The rough target is about two or three parts browns to one part greens by volume. New composters almost always get this backwards, because the kitchen produces greens every day and browns take a little effort to collect. Keep a bag of shredded cardboard or dry leaves next to your bin, and every time you add kitchen scraps, cover them with a handful of browns. That one habit prevents most of the problems below.
What goes in, and what stays out
For a home pile, the safe list is generous, and the do-not list is short but important.
What goes in:
- Fruit and vegetable scraps, peels, cores, and rinds
- Coffee grounds and paper coffee filters, and tea bags without staples or synthetic mesh
- Eggshells, crushed, which add calcium and break down slowly
- Shredded newspaper, cardboard, and paper towels, as long as they are not glossy or coated
- Dry leaves, straw, and small yard trimmings
- Grass clippings in thin layers, not thick mats, which turn slimy
- Wood chips and sawdust from untreated wood
What stays out of a home pile:
- Meat, fish, bones, and dairy, which smell strongly and attract pests
- Fats, oils, and greasy foods, which go rancid and slow the pile down
- Diseased plants, which can survive a home pile that never gets hot enough to kill them
- Weeds that have gone to seed, for the same reason
- Pet waste from dogs and cats, which can carry organisms you do not want in garden soil
- Treated or painted wood, glossy paper, and anything synthetic
- Charcoal ash from briquettes, which can contain additives
A note on citrus and onions, since they come up constantly: in a home pile they are fine in normal kitchen amounts. A few orange peels in a regular bin are not a problem, so do not let perfection about one ingredient stop you from composting everything else.
Picking a system
There is no single best system, only the one that fits your space and how much material you produce. Here is how the main options compare.
| System | How it works | Best for | Honest limitation |
|---|---|---|---|
| Open pile or heap | Scraps and browns stacked in a corner, turned occasionally | Big yards, lots of garden waste | Slow, open to pests if food is exposed, looks like a pile |
| Stationary bin | Enclosed box with slats or holes, filled from the top | Most yards, tidy look | Turning is harder; can stall if you never aerate |
| Tumbler | Sealed drum you spin to mix and aerate | Small yards, people who want faster results with less mess | Smaller capacity; heavy to turn when full; needs the right moisture to work well |
| Worm bin (vermicomposting) | Red worms eat kitchen scraps in a shallow bin | Apartments, small spaces, no yard | Only kitchen scraps; worms need steady temperatures and care |
| Bokashi | Fermentation in a sealed bucket with inoculated bran | Apartments, people who want to handle all food waste | Fermented material still needs burying or a compost pile afterward |
| Countertop electric composter | Heats and dries scraps into a small volume of dry material | Apartments, people who hate the idea of a pile | Output is dehydrated material, not finished compost; uses electricity |
For most beginners with a yard, a stationary bin is the sweet spot: simple, forgiving, and big enough to actually work. For an apartment, a worm bin or bokashi setup makes composting possible without a yard at all. The tumbler is the right choice if you know you will not turn a pile with a fork but will spin a drum. The wrong choice is the system you will not maintain, no matter how good it looks in a photo.
How to actually start this week
Here is the start, stripped down to the steps that matter.
First, pick a spot. For an outdoor bin, choose a level patch of bare soil with drainage, not pressed against a fence or wall, and close enough to the kitchen that you will actually walk to it in February. For a worm bin or bokashi bucket, pick a spot indoors or in a garage that stays out of extreme heat and cold.
Second, build a base layer of coarse browns, a few inches of twigs, straw, or shredded cardboard. This lets air in from the bottom, which is the thing most new piles lack.
Third, start adding. Kitchen scraps go in, covered each time with browns. Chop big pieces smaller when you can, because smaller pieces break down faster. Add water if the pile feels dry, aiming for the texture of a wrung-out sponge, and stop if it feels soggy.
Fourth, wait, and turn it when you remember. Turning means mixing the pile with a fork or spinning the tumbler, which adds oxygen and speeds things up. Once every week or two is plenty, and if you forget for a month, the pile just slows down.
Finished compost is dark, crumbly, and smells like earth, and you cannot recognize the original scraps in it anymore. Depending on your system and how often you turn it, that takes anywhere from a couple of months to a year. Both ends of that range are normal.
Troubleshooting: smells, pests, and stalls
Almost every compost problem has the same few causes, and almost every fix is the same few moves.
If it smells like ammonia or rotten eggs, it is almost certainly too wet and too green. Add a big handful of browns, turn the pile to let air in, and hold off on kitchen scraps for a few days. The smell usually fades fast once air and browns are back in the mix.
If it smells sour, like vinegar, it has gone anaerobic, which is the technical way of saying the microbes ran out of oxygen. Same fix: browns, turning, and less water. A pile that smells like earth is a pile with air in it.
If fruit flies show up, food is exposed on the surface. Bury new scraps under browns every time, and keep a lid on the bin. A layer of dry leaves on top is the simplest fly barrier there is.
If rats or raccoons show up, the usual culprit is exposed food, especially grains or anything from the do-not list, or a bin with gaps big enough to enter. Use a bin with a solid base or fine mesh, bury food deep, and keep meat, dairy, and oils out entirely. A well-kept pile of vegetable scraps and browns is far less interesting to pests than people fear.
If nothing seems to be happening, the pile is probably too dry, too small, or too cold. A pile needs a certain mass to heat up, and smaller piles just work more slowly. Add water if it feels dry, add more material if it is tiny, and be patient in winter, when everything slows down and speeds up again in spring.
None of these problems means you are bad at composting. They mean the pile is telling you what it needs, and the fixes are all the same: browns, air, water, or time.
Using the finished compost
When it looks and smells like dark soil, it is ready. Mix it into garden beds, top-dress a lawn, or stir it into potting mix for containers. You do not need to be precise about amounts, and you cannot really overdo it in a garden bed the way you can overdo synthetic fertilizer. If a few recognizable bits remain, toss them back into the new pile and let them finish.
One caution: do not use unfinished compost, or compost that still smells sour or like ammonia, directly around seedlings, because the same process that breaks material down can compete with young roots. Let it finish first.
The bottom line
Composting at home is not a project you need to research for a month. Pick a system that fits your space, keep browns next to the bin, bury your scraps, turn it when you remember, and let the microbes do the rest. It will smell like earth when it is working, it will slow down in winter, and it will turn your kitchen scraps into something your garden actually wants.
Start with the bin, the browns, and this week. The pile will teach you the rest.
This post is for general information only and is not medical advice. If you have a health condition, check with your clinician before changing supplements or routines.